
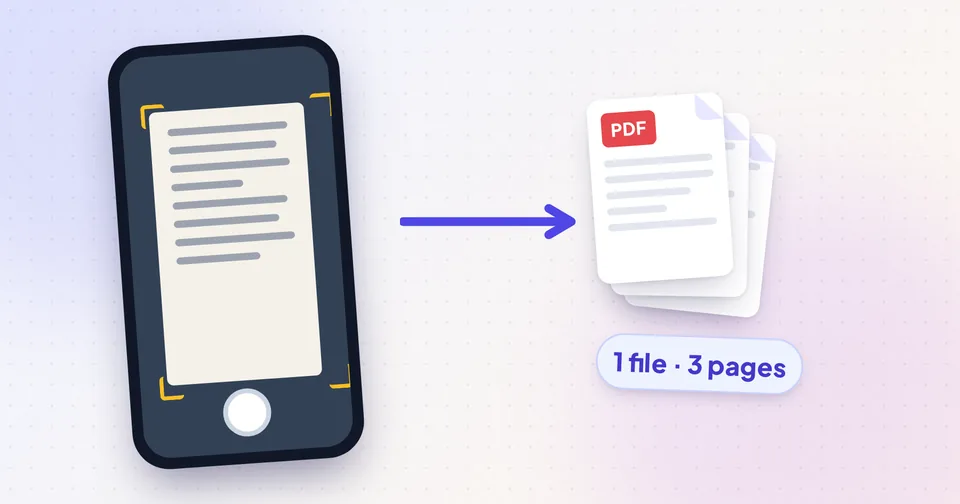
Step 1: Photograph the pages properly
The quality of the final PDF is decided when you take the photos. A few habits make a big difference:
- Flat page, flat phone. Lay the document on a table and hold the phone directly above it, parallel to the paper. Shooting at an angle makes the page look like a trapezium and the text at the far edge blurry.
- Even light. Daylight near a window is ideal. Avoid your own shadow (stand so the light isn't behind you) and avoid the flash, which creates a bright glare spot on glossy paper.
- Contrast. Put white paper on a darker surface so the edges are clear.
- Fill the frame. Get close enough that the page fills most of the photo, with a small margin around it.
- Focus. Tap on the text to focus and hold still. Check each photo by zooming in before moving to the next page.
Tip: If your camera app has a document mode, or you have a scanning app that crops and flattens pages automatically (such as the scanner in iPhone's Notes app or the scan option in Google Drive), you can use it to capture pages and then continue from Step 2 with the images or PDFs it produces.
Step 2: Combine the photos into one PDF
Recipients usually expect one PDF, not a dozen loose photos. Open Image to PDF (or JPG to PDF if all your photos are JPGs) on your phone or computer:
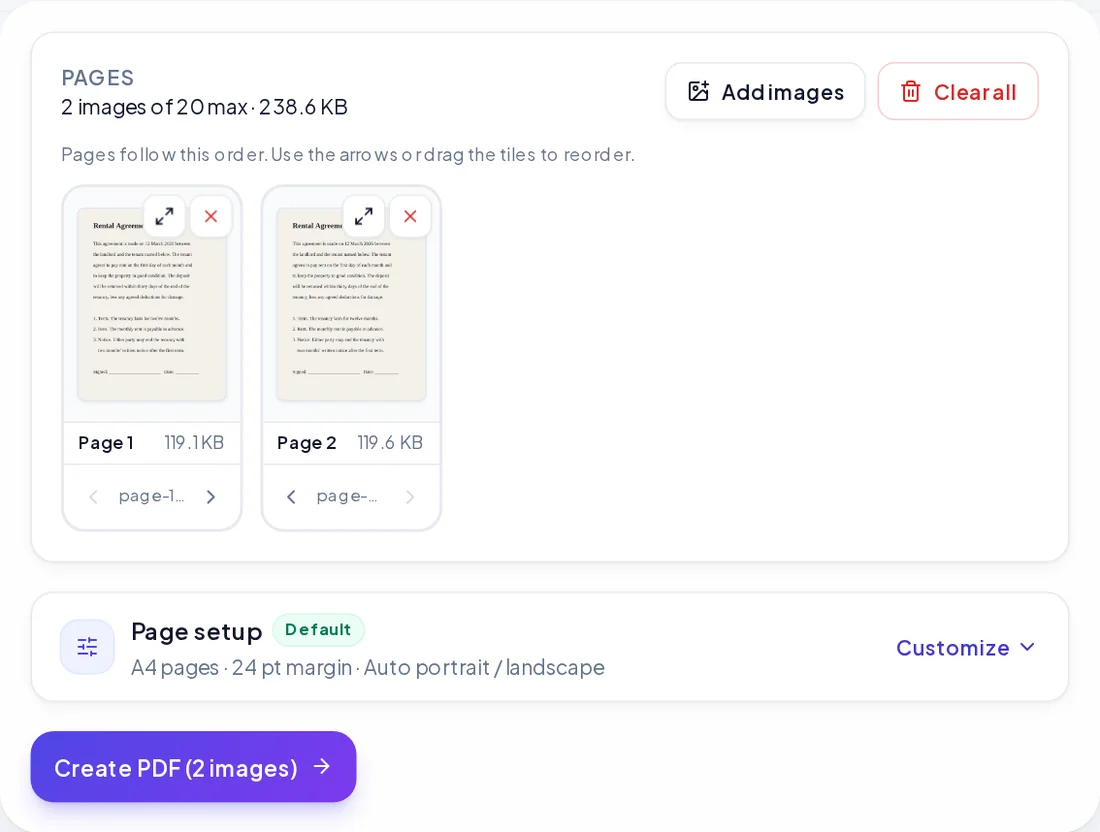
- Add the photos. JPG, PNG, WebP, HEIC, BMP and GIF are accepted, up to 20 images per PDF.
- Put the pages in order. Use the arrows or drag and drop, and remove any photo you don't want.
- Choose the page size. A4 or Letter gives a normal document that prints correctly; Fit image makes each page exactly the size of its photo.
- Add a margin if you like, then create and download the PDF.
Landscape photos get landscape pages automatically. Upright JPG and PNG files are embedded without recompression, so the PDF keeps the full quality of your photos.
iPhone photos in HEIC format work directly; there's no need to convert them first. If you'd like to understand why iPhones use that format, see HEIC vs JPG.
Step 3: Add more pages or other PDFs
Scanned the first half of a document yesterday and the rest today? Or need to attach your scan to an existing PDF form? Use Merge PDF to combine up to 20 PDF files into one, in whatever order you set. Page sizes and orientation are preserved.
If pages ended up in the wrong order after merging, or you need to delete a blank page, Merge and reorder PDF pages shows how to rearrange pages with live thumbnails.
Step 4: Fix sideways or upside-down pages
Phones sometimes record the wrong orientation when they're held flat above a table. If a page comes out sideways, open Rotate PDF, choose 90°, 180° or 270°, and apply it to all pages or just the ones you list (for example 2, 5).
Rotation is lossless: the page is turned without re-encoding the image, so nothing gets blurrier.
Tip: To avoid the problem, tilt the phone slightly towards you before taking each photo so it detects portrait orientation, then hold it flat again.
Step 5: Make the file small enough to send
Photos from modern phones are large, often 3–5 MB each. A 10-page scan can easily reach 30–50 MB, too big for many email services and upload forms.
Open the PDF Compressor and add your scan. Because every page of a scan is an image, both modes work well:
- Keep text recompresses the images inside the PDF and leaves any text layer untouched.
- Rasterized rebuilds each page as an image at the resolution you choose and usually gives the smallest file for scans, with a live size estimate.
Medium strength typically keeps printed text crisp while cutting the size dramatically. Check a page at full zoom before sending, especially if there's small print.
For more detail on the trade-offs, read How to compress a PDF without losing quality.
Step 6 (optional): Make the text searchable
A photo-based PDF is just pictures of text: you can't search it or copy a sentence out of it. Optical character recognition (OCR) reads the letters in an image and turns them into real text.
With Image to Text (OCR) you can add your page photos and get editable text to copy or download as a .txt file, or download a searchable PDF. It supports 18 languages, can straighten slightly tilted photos and even out shadows, and lets you draw a box to read only part of a page.
OCR works best on clear, printed text. Handwriting isn't reliably recognised. How to extract text from an image or PDF has tips for better results.
Signing and privacy
If the document needs your signature, you can sign the finished PDF digitally instead of printing, signing and scanning again. How to sign and watermark a PDF explains the options.
Scanned documents often contain sensitive details: ID numbers, addresses, bank information. All the tools in this guide work inside your browser, so your photos and PDFs are never uploaded to a server.