
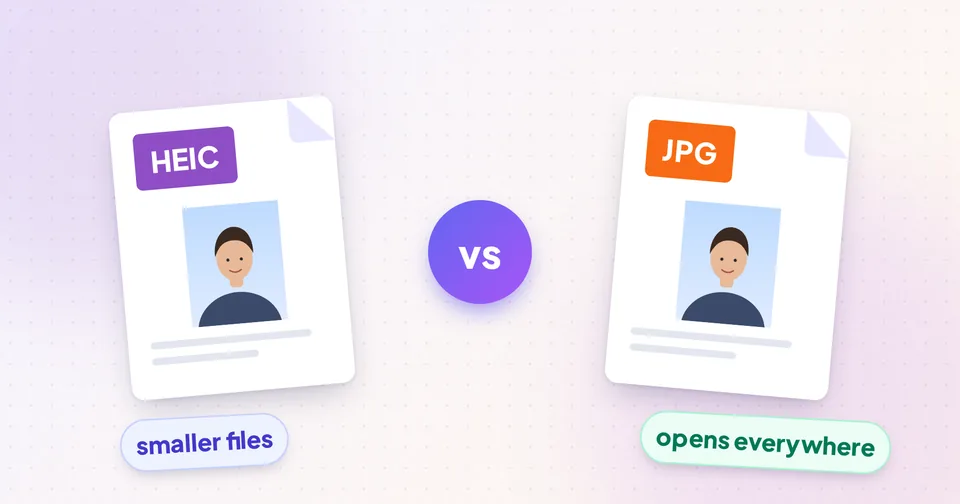
What is a HEIC file?
HEIC stands for High Efficiency Image Container. It's Apple's name for photos stored in the HEIF format (High Efficiency Image File Format), which compresses images using the same technology as HEVC (H.265) video. You'll see both .heic and .heif extensions; for everyday purposes they're the same thing.
Apple switched the iPhone camera to HEIC with iOS 11 in 2017 because it stores the same photo in noticeably less space. Many Android phones can save HEIF too, but most keep JPG as their default.
A HEIC file is a container, so it can hold more than one image: burst shots, depth maps for Portrait mode and Live Photo stills can all live inside. That's useful for the phone and one more reason other software struggles with it.
HEIC vs JPG side by side
| HEIC / HEIF | JPG / JPEG | |
|---|---|---|
| Typical file size | Smaller, often around half at similar quality | Larger |
| Compatibility | Apple devices; limited elsewhere | Practically everywhere |
| Colour depth | Supports 10-bit colour | 8-bit |
| Transparency | Supported | Not supported |
| Multiple images in one file | Yes (bursts, depth data) | No |
| Accepted by upload forms | Rarely | Almost always |
| Introduced | 2015 (format); iPhone default since 2017 | 1992 |
Image quality is not the reason to choose one over the other. At normal viewing sizes a well-made JPG and a HEIC look the same. The real trade-off is storage space against compatibility.
Where HEIC causes problems
- Upload forms: exam portals, job sites and government services usually accept only JPG (sometimes PNG or PDF).
- Windows PCs: viewing HEIC typically requires extra codecs from the Microsoft Store, and some photo editors still won't open it.
- Older software and websites: content management systems, online printing services and many messaging tools on desktop may reject it or show a blank thumbnail.
- Sharing with non-Apple users: the recipient may receive a file they can't open.
iPhones often convert to JPG automatically when you share through the share sheet or attach a photo to email. But when you copy files via cable, cloud storage or AirDrop to a Mac, you usually get the original HEIC.
Option 1: Stop your iPhone saving HEIC
If you constantly need JPGs, you can change the camera format. On iPhone go to Settings → Camera → Formats and choose Most Compatible. New photos will be saved as JPG.
Two things to know before you do that:
- Existing photos stay HEIC; the setting only affects new ones.
- JPG photos take more storage, so your phone and iCloud fill up faster.
There's also Settings → Photos → Transfer to Mac or PC → Automatic, which converts to a compatible format when you copy photos to a computer over a cable. It doesn't help when you upload directly from the phone to a website, though.
Tip: For most people, the best setup is to keep High Efficiency on (to save space) and convert only the photos you need to share or upload.
Option 2: Convert HEIC to JPG
Converting is the quickest fix when a website rejects your photo. The HEIC to JPG tool decodes the photo at full resolution and saves a real JPG, not a renamed file. Renaming photo.heic to photo.jpg doesn't work: the contents are still HEIC, and a careful upload system will reject it.
- Open HEIC to JPG on your phone or computer and add one or more HEIC files (up to 10 at once).
- Choose a JPG quality. 85–92% is visually indistinguishable from the original for photos.
- If a file holds several images, such as a burst, you can convert every image in it.
- Convert, check the preview and the file size, then download (several files come as a ZIP).
Safari can decode HEIC natively; other browsers use a built-in decoder, so the conversion works whichever browser you use.
If the upload form also has a size limit, follow up with How to reduce photo size for online forms.
Option 3: Convert HEIC to PNG for editing
JPG is lossy: each time a JPG is edited and saved again, a little more detail is lost. If you plan to retouch a photo, add text, cut out the background or combine it with graphics, convert to PNG instead with HEIC to PNG.
PNG is lossless, so the converted file keeps every pixel decoded from the HEIC. The trade-off is size: a PNG of a 12-megapixel photo can easily be 15–25 MB. Do your editing on the PNG, then export the final version as JPG or WebP for sharing.
| You want to… | Convert to |
|---|---|
| Upload to a form or website | JPG |
| Email or message a photo | JPG |
| Edit in Photoshop, GIMP or similar | PNG |
| Keep a lossless archive copy | PNG (or keep the original HEIC) |
| Put a photo on your own website | JPG or WebP (see PNG vs JPG vs WebP) |
Does converting HEIC lose quality?
Converting to PNG loses nothing beyond what the HEIC already stored. Converting to JPG adds one round of JPG compression; at high quality settings (85% and above) the difference isn't visible at normal viewing sizes.
Two minor details can change:
- Wide colour: some iPhone HEICs use the wider Display P3 colour space and 10-bit colour. JPG is 8-bit, so extremely saturated colours may shift very slightly.
- Extras: depth data and Live Photo motion aren't carried into a single JPG or PNG.
For forms, sharing and printing, neither matters.