
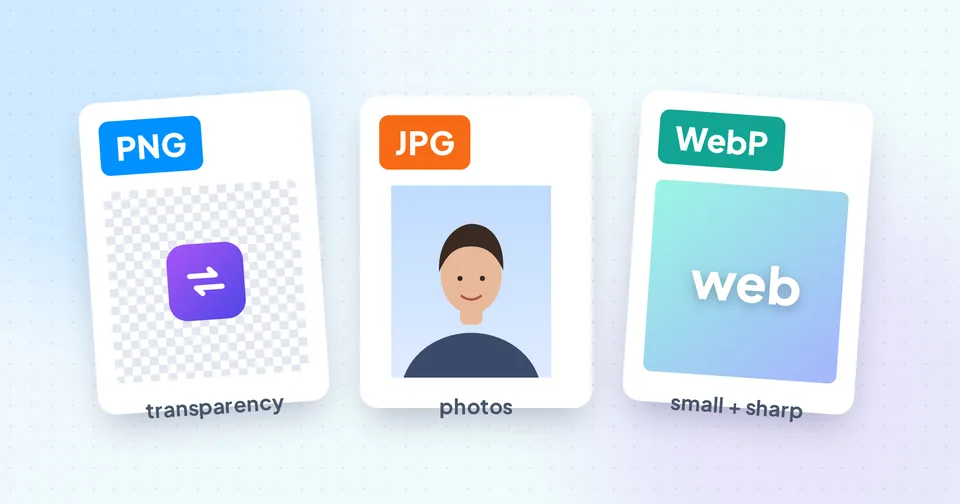
Lossy vs lossless in one minute
Every format here compresses images, but in one of two ways:
- Lossy compression (JPG, and WebP in its default mode) throws away detail that's hard to see, like tiny colour variations in a sky. Files get much smaller. Push it too far and you see blocks, halos around edges and smeared text.
- Lossless compression (PNG, and WebP in lossless mode) stores every pixel exactly. Nothing is lost, but files are bigger, especially for photos, which have lots of fine, random detail.
Photos tolerate lossy compression very well. Text, line art and user-interface screenshots don't: the sharp edges between flat colours are exactly where lossy artefacts show up.
The three formats compared
| JPG | PNG | WebP | |
|---|---|---|---|
| Compression | Lossy | Lossless | Lossy or lossless |
| Transparency | No | Yes | Yes |
| Animation | No | No (APNG is separate) | Yes |
| Best for | Photos | Screenshots, logos, graphics | Images on websites |
| Photo file size | Small | Large | Smallest |
| Graphics file size | Small but with artefacts | Small and crisp | Smallest and crisp (lossless) |
| Compatibility | Everywhere | Everywhere | All modern browsers; some older apps and forms don't accept it |
Google, which created WebP, reports lossy WebP files as typically 25–34% smaller than comparable JPGs, and lossless WebP around 26% smaller than PNG. Your results depend on the image, which is why it's worth checking the actual size before you commit.
When to use JPG
JPG has been around since the early 1990s, and practically every device, app and website understands it. Use it for:
- Photos you're emailing, messaging or uploading to forms.
- Photos for printing services.
- Any situation where you're not sure what the recipient can open.
Avoid JPG for screenshots containing text, for logos, and for anything that needs a transparent background. JPG can't store transparency, so transparent areas get filled with a solid colour.
Converting a PNG to JPG with PNG to JPG lets you choose that fill colour (white by default) and the quality. For photos, anything from about 80% to 92% looks identical to the eye; lower values give smaller files.
Watch out: Don't re-save the same JPG over and over. Each save recompresses it and loses a little more detail. Keep an original and export from that.
When to use PNG
PNG is the right choice when sharp edges and exact colours matter:
- Screenshots, especially of text, code or app interfaces.
- Logos, icons and diagrams with flat colour.
- Images with transparency, such as a logo you'll place on different backgrounds.
- Working copies you'll edit several times, since lossless saves don't degrade.
The downside is photos. A PNG of a phone photo can be 5–10 times larger than a good JPG of the same image. If you have photos saved as PNG, converting them to JPG or WebP usually saves a lot of space.
Going the other way, JPG to PNG is useful when you need to edit a JPG without adding new compression each time you save, but it won't restore detail the JPG already lost, and it won't create transparency: the background stays solid.
When to use WebP
WebP is designed for the web, and it shows. It does both lossy and lossless compression, supports transparency and animation, and produces smaller files than JPG and PNG in most cases. All current versions of Chrome, Edge, Firefox and Safari display it.
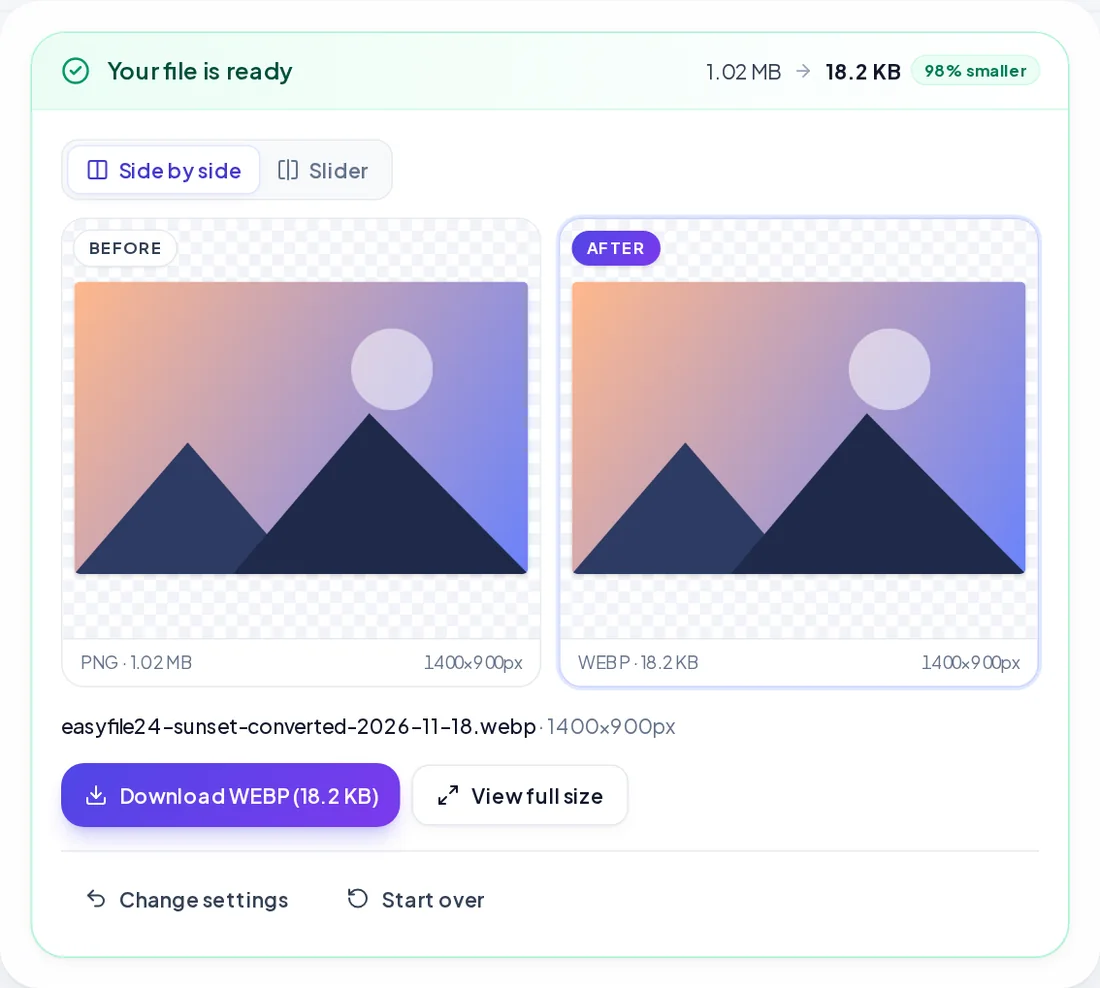
Use WebP for images on your own website or blog: product photos, banners, illustrations and logos. Smaller images load faster, which visitors notice and which helps page-speed scores.
- Photos: JPG to WebP with quality around 80–90%.
- Graphics with transparency: PNG to WebP. Transparent areas are kept, and lossless mode keeps logos and text perfectly sharp.
Where WebP falls short is outside the browser. Some older image editors, desktop apps and many upload forms still don't accept it. If you've downloaded a WebP image that won't open where you need it, WebP to JPG or WebP to PNG fixes that.
Quick decision guide
| Your image | Uploading to a form / emailing | Your own website | Editing later |
|---|---|---|---|
| Photo | JPG | WebP (lossy) | PNG or the original |
| Screenshot with text | PNG (or JPG if PNG isn't allowed) | WebP (lossless) or PNG | PNG |
| Logo with transparency | PNG | WebP or SVG | PNG or SVG |
| Scanned document | JPG or PDF | WebP | PNG |
| Simple animation | GIF | WebP | Keep the original |
For logos and icons, a vector format can beat all three. See SVG explained for when that makes sense.
Making any format smaller
Choosing the format is half the job; the other half is not using more pixels than you need. A 4000 px-wide photo shown in an 800 px column wastes most of its bytes.
The Image Compressor handles both: pick JPG, WebP or PNG output, set a quality, and optionally a maximum width so large photos are scaled down. It shows the before and after size for every image, and tells you plainly when a file can't get any smaller, which happens with images that are already well optimised.
Tip: PNG quality settings don't exist, because PNG is lossless. To shrink a PNG, reduce its dimensions or convert it to WebP.
If you need to hit a specific limit for a form, such as 50 KB, a target-size tool is faster than trial and error. How to reduce photo size for online forms walks through it.