
Why your photo is too big in the first place
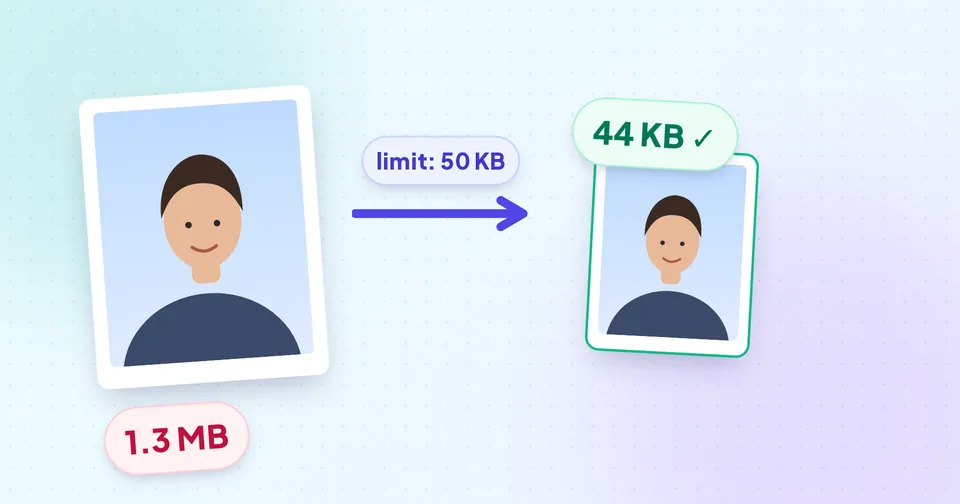
A modern phone camera captures 12 to 50 megapixels. That is plenty of detail for printing a poster, but an application form typically displays your photo in a box only a few hundred pixels wide. Every extra pixel still has to be stored, which is why a straight-from-the-camera JPG is measured in megabytes.
Two settings control the final file size:
- Dimensions (width × height in pixels). Halving both the width and the height leaves a quarter of the pixels, so the file shrinks to roughly a quarter.
- Compression quality. JPG throws away detail the eye is unlikely to notice. Lower quality removes more and makes the file smaller, but too low and you see blocky patches and smeared edges.
Most blurry uploads happen because someone kept the full 4000-pixel width and pushed quality down to 5% to squeeze it under 50 KB. Reducing the dimensions first lets you keep the quality high.
Read the form's requirements carefully
Before touching the photo, write down everything the form specifies. Notices are often split across several lines or a separate PDF, so look for:
- Maximum file size, and sometimes a minimum (for example "between 20 KB and 50 KB"). A minimum means you must not over-compress either.
- Dimensions in pixels (such as 200 × 230 px) or in centimetres or millimetres (such as 3.5 × 4.5 cm).
- File format: usually JPG/JPEG; occasionally PNG or PDF.
- Content rules: background colour, face size, recent photo, no glasses, and so on.
Watch out: Requirements differ between portals and change from year to year. Always follow the official notice for your exam or application; the numbers in this guide are only examples.
Separate limits for the photo and the signature are common, with the signature limit usually smaller. Signatures need different handling, covered in How to resize a signature for online forms.
Step 1: Crop to the right shape
If the form wants a portrait photo of a particular shape, crop first. Cropping removes pixels you don't need (the wall above your head, your shoulders), which already reduces the size, and it stops the upload system from stretching or squashing your face to fit its box.
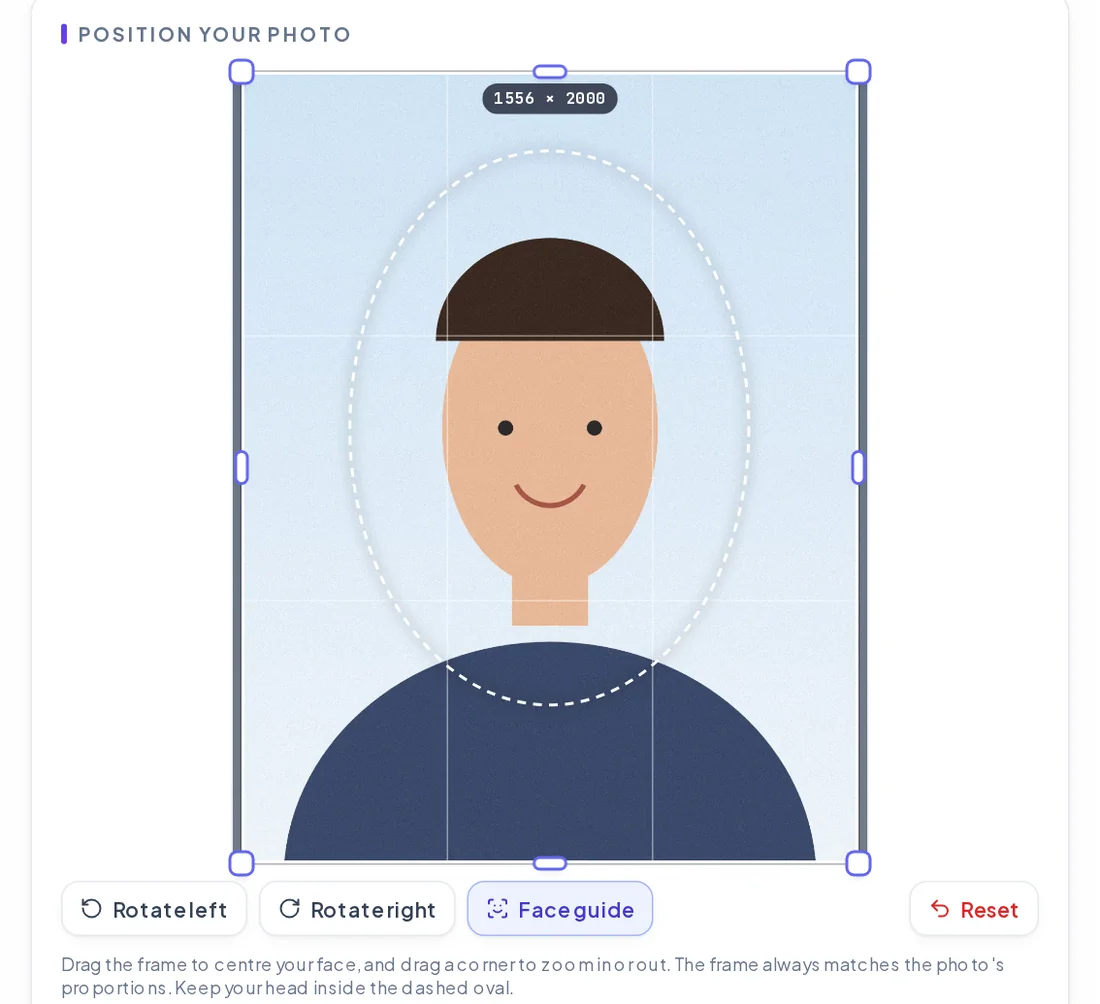
For passport-style photos with a fixed size such as 35 × 45 mm, the Passport Photo Maker does the crop, the dimensions and an optional KB limit in one go. For any other shape, use the Image Cropper with a ratio such as 3:4 or 4:5, or type exact pixel values.
Tip: Leave a little space above the head and keep the face centred. Many forms reject photos where the head touches the top edge.
Step 2: Resize to the required dimensions
If the notice gives a pixel size, resize to exactly that. If it gives a size in centimetres, a width of around 300–600 px is generous for an on-screen form photo; there's rarely any benefit in uploading more.
Use the Image Resizer with the aspect-ratio lock on so the photo isn't distorted. Avoid enlarging a small image: it doesn't add detail and only makes the file bigger and softer.
| Dimensions | Pixels | Fits comfortably in |
|---|---|---|
| 4000 × 3000 | 12 million | Several MB at good quality |
| 1200 × 1600 | 1.9 million | Roughly 200–500 KB |
| 600 × 800 | 0.48 million | Roughly 50–100 KB |
| 300 × 400 | 0.12 million | Roughly 15–30 KB |
These ranges are rough: a photo with a plain background compresses far better than one with a detailed, noisy background, which is one more reason to stand in front of a plain wall.
Step 3: Compress to the exact KB limit
Now the photo is the right shape and size, bring it under the file-size limit. Guessing a quality percentage and re-saving several times is slow and often overshoots. A target-size tool does the search for you: it tries different quality levels, measures the real encoded size each time, and keeps the best quality that fits.
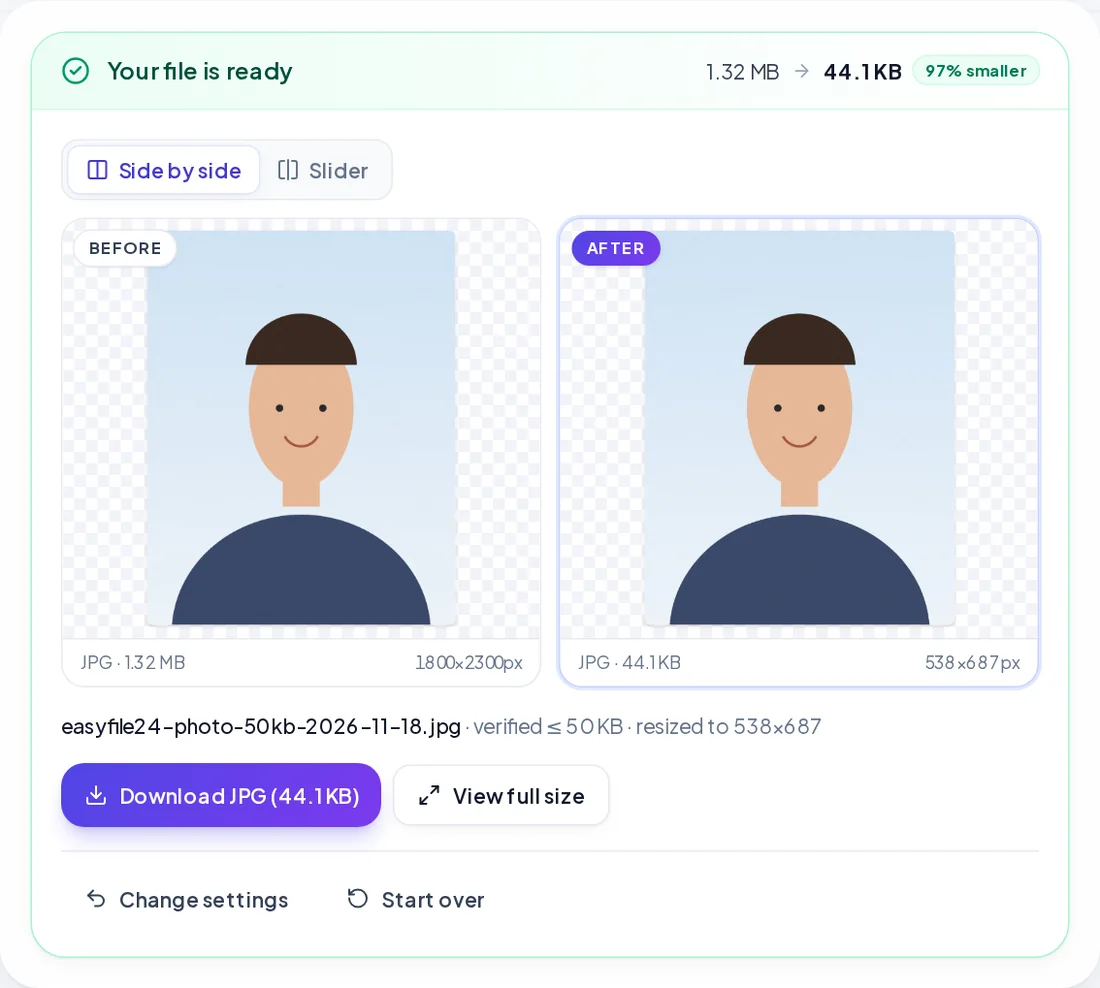
Pick the tool that matches your limit: Image to 20 KB, Image to 50 KB, Image to 100 KB, Image to 200 KB or Image to 500 KB. Each one lets you change the target to any value from 5 KB to 2 MB, so you can also enter an unusual limit like 30 KB or 75 KB.
- Add your cropped and resized photo (JPG, PNG, WebP, HEIC, BMP or GIF all work).
- Set the target, and decide whether the tool may also reduce the dimensions if quality alone isn't enough. Turn this off if the form demands an exact pixel size.
- Run it, check the measured size and the preview, then download.
If the tool reports that the target can't be reached at acceptable quality, it says so rather than handing you an unreadable image. That's your cue to reduce the dimensions a bit more, or to crop tighter.
KB vs kB: aim a little under the limit
Some systems count 1 KB as 1,024 bytes, others as 1,000 bytes. EasyFile24 uses 1,024, so a file reported as exactly 50 KB is 51,200 bytes, which a strict 1,000-byte portal would call 51.2 kB and reject.
Tip: If a portal is fussy, set the target 2–4% below the limit: 48 KB for a 50 KB limit, 19 KB for 20 KB. The quality difference is invisible and the upload goes through first time.
Also check the minimum. If a form asks for at least 20 KB and your photo is 12 KB, use a higher target or keep larger dimensions.
Common upload errors and how to fix them
| Error or problem | Likely cause | Fix |
|---|---|---|
| "Invalid file format" | The file is HEIC, PNG or WebP, or the extension was renamed by hand | Convert properly with HEIC to JPG or PNG to JPG; renaming .png to .jpg doesn't change the format |
| "File size exceeds limit" though it looks smaller | KB counted as 1,000 bytes | Aim a few KB below the limit |
| "Dimensions invalid" | Pixel size doesn't match | Resize to the exact width × height in the notice |
| Photo looks blocky or smeared | Quality pushed too low at large dimensions | Reduce dimensions first, then compress |
| Face looks stretched on the form | Wrong aspect ratio | Crop to the requested shape before resizing |
If you photographed a printed photo, clean the glass, avoid reflections and crop away the edges of the print so only the picture remains.
Keeping your documents private
Application photos and ID scans are personal data. Every EasyFile24 tool mentioned here processes files inside your browser: the photo is never uploaded to our servers, so nothing is stored or shared.
Keep your original, full-size photo saved separately. If a different portal later asks for 100 KB instead of 20 KB, starting again from the original gives a much better result than enlarging an already compressed copy.