
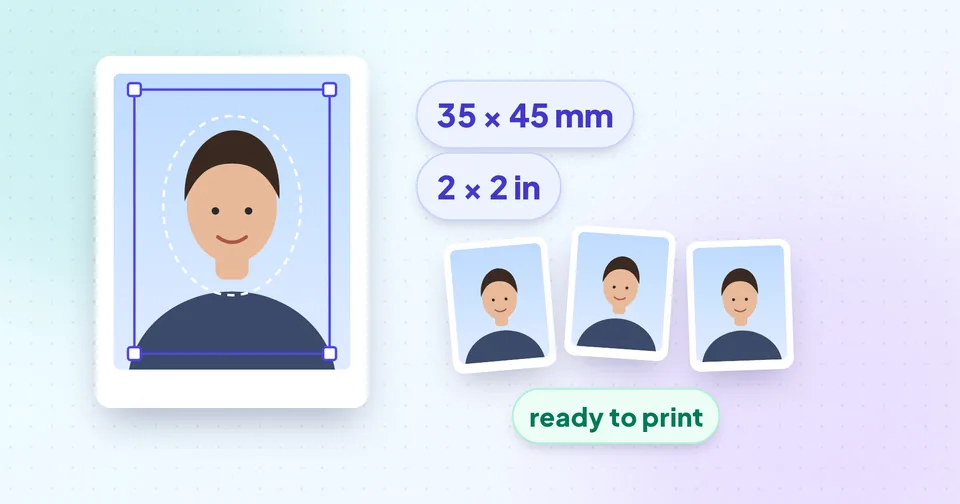
Know the size you need first
There's no single worldwide passport photo size. A few common ones:
| Size | Often used for |
|---|---|
| 35 × 45 mm | Many countries including the UK, Schengen/EU countries and India |
| 2 × 2 in (51 × 51 mm) | United States passports and visas |
| 33 × 48 mm | China |
Besides the outer size, rules usually describe how big the head must be inside the frame, the background colour (often white or light grey, sometimes off-white or light blue), and whether glasses are allowed. For online applications, there may also be a pixel size and a file-size limit, such as a minimum of 600 × 600 px for the US digital photo.
Watch out: Requirements are set by each passport office, embassy or exam authority and can change. Read the official photo guidelines for your specific application before you start. No tool can guarantee a photo will be accepted.
Set up: light, background and camera
Light
Even, soft light on the face is the most important thing. Face a window during the day, with the light in front of you rather than behind or to one side. Avoid overhead room lights, which put shadows under the eyes, and direct sunlight, which makes people squint.
Background
Stand about half a metre to a metre in front of a plain, light wall or a hanging white sheet. Standing a little away from the wall stops your shadow falling on it. Remove pictures, door frames and anything else from the area behind your head.
Camera
- Ask someone else to take the photo. Selfies at arm's length distort the face (a bigger nose, smaller ears) and usually tilt the head.
- Use the main rear camera, not the selfie camera, for better quality.
- Hold the phone at eye level, about 1–1.5 m away, and use the 2× zoom if your phone has one to reduce distortion.
- Turn off beauty filters, portrait blur and HDR effects.
- Take several shots; it's easier to choose the best one later.
Pose and appearance
- Face the camera straight on, with shoulders square and head level (not tilted or turned).
- Neutral expression with your mouth closed and both eyes open.
- Hair away from the eyes; the full face visible from the top of the forehead to the chin.
- Remove glasses if the rules require it (many countries now do), and avoid reflections if they're allowed.
- No hats or head coverings unless worn for religious or medical reasons, as permitted by your authority.
- Wear clothing that contrasts with the background; a white shirt against a white wall can make you blend in.
Tip: Leave plenty of space around your head and shoulders when taking the photo. You'll crop it precisely in the next step, and you can't add back space you didn't capture.
Crop and size the photo
Now turn the photo into an exact passport-size image with the Passport Photo Maker:
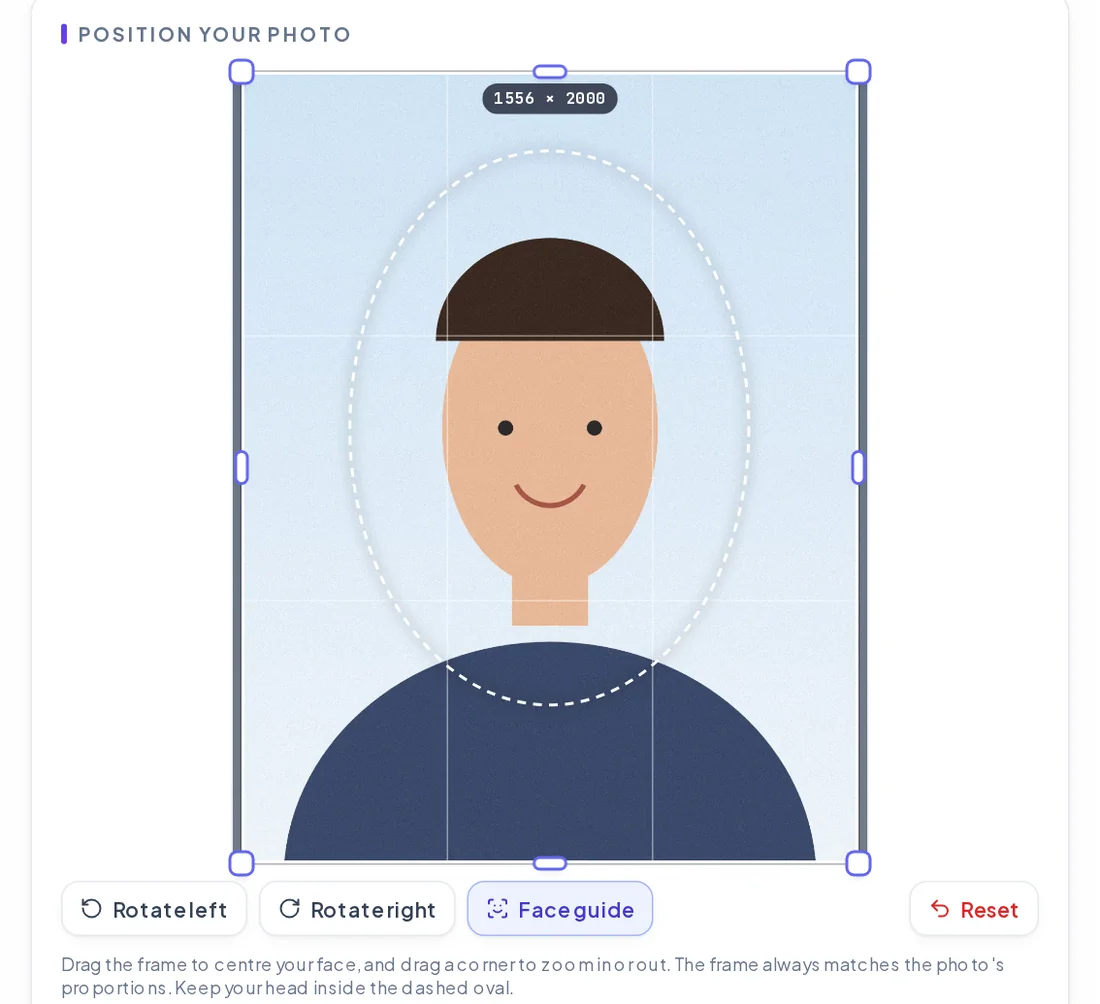
- Add your photo (JPG, PNG, WebP or iPhone HEIC).
- Tap a preset: 35 × 45 mm, 2 × 2 in or 33 × 48 mm, or choose Custom and enter any size in millimetres or pixels.
- Drag the frame to centre your face and drag a corner to zoom. The frame keeps the right proportions, and the face guide shows where the head should sit.
- Rotate the photo if it came out sideways.
- Choose JPG or PNG, set the DPI (300 is standard for printing) and, for online forms, switch on a maximum file size such as 50 KB.
- Create the photo, check it, and download.
The tool doesn't remove or replace the background; it crops and sizes what you photographed. That's why a plain, evenly lit wall matters so much at the shooting stage.
If you only need a particular shape rather than a passport size, the Image Cropper has one-tap ratios and exact pixel entry.
For online applications
Online passport, visa and exam portals usually want a digital file rather than a print. Typical requirements are a JPG, specific pixel dimensions, and a maximum (sometimes minimum) file size.
- Set the size in pixels in the Passport Photo Maker if the portal gives one.
- Turn on the file-size limit there, or run the result through Image to 50 KB (or whichever limit you need) afterwards.
- Aim a couple of KB below the limit; some portals count kilobytes slightly differently.
More detail on hitting strict limits is in How to reduce photo size for online forms. If the form also wants a signature, see How to resize a signature for online forms.
Printing your photo
Download the photo at 300 DPI. At that resolution a 35 × 45 mm photo is about 413 × 531 pixels, and a 2 × 2 in photo is 600 × 600 pixels.
Print shops and photo kiosks usually print on 4 × 6 in (10 × 15 cm) paper. Place several copies on a 4 × 6 in canvas in any photo editor or document app, making sure it's printed at 100% ("actual size"), not "fit to page", or the photos will come out the wrong size.
Tip: Measure one printed photo with a ruler before cutting them all. If it's off, the print settings scaled it.
Use matte or glossy photo paper as your authority specifies, and don't print on ordinary office paper; most offices reject it.
A final checklist
- Correct outer size and head size for your authority.
- Plain background in the required colour, with no shadows.
- Face evenly lit, sharp and in focus, with natural skin tones.
- Neutral expression, eyes open and visible, looking at the camera.
- Taken recently (many authorities ask for within the last 6 months).
- No filters, retouching or edits beyond cropping and sizing.
Your photo is processed in your browser, never uploaded, so you can redo the crop as many times as you like with complete privacy.