
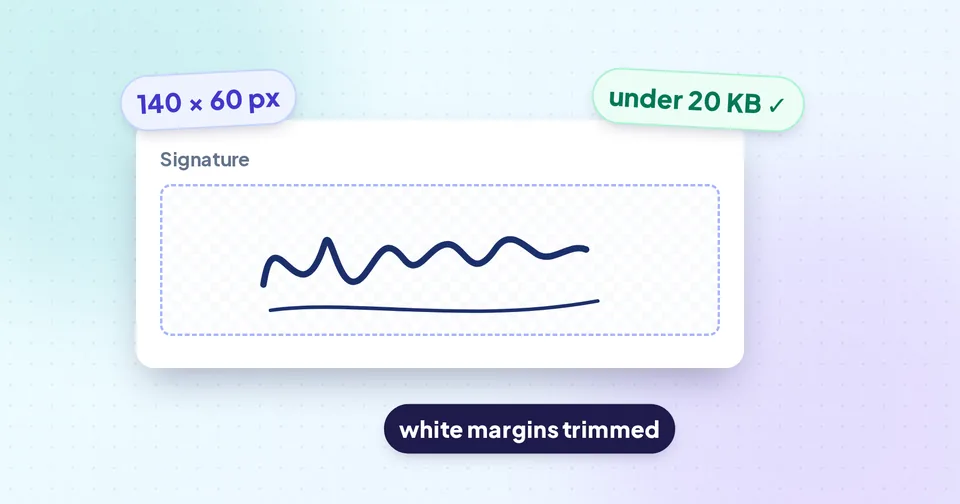
Read the form's rules before you start
Every portal publishes its own requirements, usually in the official notice, the advertisement or the help text next to the upload button. Before touching any tool, write down four things:
- Dimensions, in pixels (for example 140 × 60 px) or in centimetres or millimetres.
- The maximum file size, and sometimes a minimum (for example "between 10 KB and 20 KB").
- The accepted file type, usually JPG or JPEG, sometimes PNG.
- Anything about the ink or background, such as "black ink on white paper".
Signature requirements are commonly a small, wide rectangle with a limit somewhere between 10 KB and 50 KB, but the numbers differ from one form to the next and can change between years. Always use the numbers from the notice you're applying under, not from a blog post or a friend's application.
Watch out: If the form gives a minimum size as well as a maximum, a file that's too small can be rejected too. Aim for the middle of the allowed range.
Make a signature that scans well
Most rejected uploads go wrong at this step, before any resizing happens. A faint pencil signature on lined paper can't be rescued by software.
- Use a black or dark blue ball-point or gel pen. Felt tips bleed and pencil comes out grey.
- Sign on plain white paper, not lined paper and not the back of a printed page, whose text can show through.
- Sign at your normal size and leave a margin of a few centimetres on every side. You'll trim it later.
- Sign a few times and pick the cleanest one.
To capture it, a flatbed scanner gives the most even result. A phone photo works well too: put the paper flat by a window in daylight, hold the phone parallel to the paper so the signature isn't skewed, and make sure your hand or phone isn't casting a shadow. Turn the flash off, because it often leaves a bright spot in the middle.
Tip: Take the photo from a little further away and zoom in slightly. That keeps the phone's shadow off the page and reduces the lens distortion you get very close up.
Trim, size and limit the file in one go
The Signature Resizer does the three steps most forms need on one screen, and the whole process happens in your browser, so the image of your signature is never uploaded anywhere.
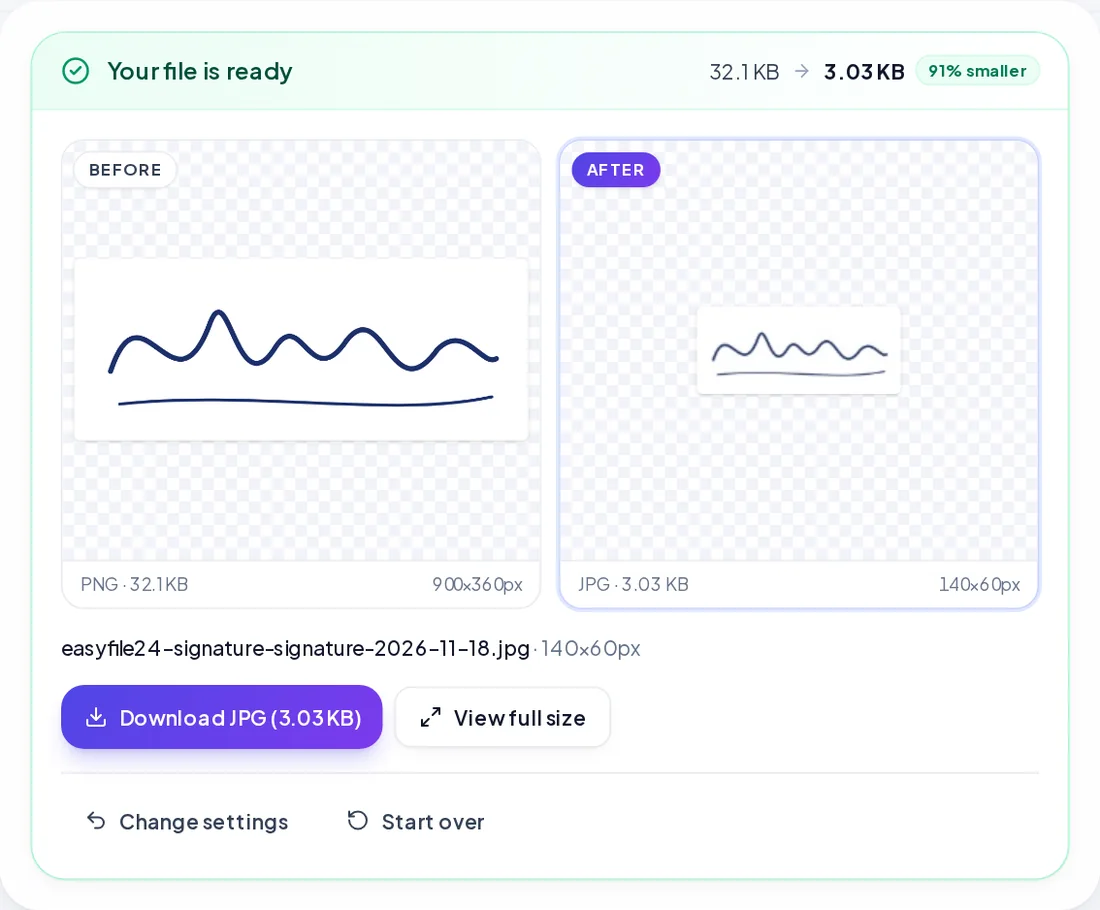
- Add your photo or scan. JPG, PNG, WebP and iPhone HEIC photos are accepted. If it came out sideways, rotate it first.
- Drag the handles of the trim box so it sits just outside the ink, removing the empty paper around the signature.
- Enter the width and height from the notice. The tool starts in pixels, at 140 × 60 px; switch to millimetres if your form gives a physical size, and set the DPI (200 is a common choice for signatures).
- Keep "Fit inside" if you don't want any part of the signature cut off. The signature is scaled to fit and the remaining space is filled with the background colour.
- Set the maximum file size. The default is 20 KB, with presets for 10, 20, 30, 50 and 100 KB.
- Resize, then check the measured size shown with the result before downloading.
Because the size limit is checked against the real encoded file, you won't download something that claims to be 20 KB and turns out to be 21 KB when the portal measures it.
Pixels, millimetres and DPI without the confusion
Some forms ask for pixels, others for centimetres. The link between them is the DPI (dots per inch): pixels = millimetres ÷ 25.4 × DPI. A 3.5 cm × 1.5 cm signature at 200 DPI is about 276 × 118 pixels.
| DPI | Pixel size | Typical effect |
|---|---|---|
| 100 | 138 × 59 px | Small file, fine for screens, soft when printed |
| 200 | 276 × 118 px | Good balance for most signature uploads |
| 300 | 413 × 177 px | Print quality, but harder to fit under a low KB limit |
If the form gives only pixels, ignore DPI and enter the pixels directly. If it gives only a physical size and a KB limit, start at 200 DPI and go lower only if the file won't fit.
When the file won't go under the limit
Signatures are mostly white space with thin dark lines, so they usually compress well. If you still can't reach the limit, the cause is almost always one of these:
- Grey or uneven paper. Every slight shade of grey costs bytes. Re-photograph in better light, or choose a white background so the edges are clean.
- Too many pixels. If the form gives only a KB limit and no dimensions, a smaller size, such as 300 px wide, compresses much further.
- Too much empty paper. Trim tighter around the ink.
If you only need to hit a file size and the dimensions don't matter, the Image to 20 KB tool searches for the best quality that fits under the limit and can reduce dimensions in small steps when quality alone isn't enough. For a general-purpose shrink without a fixed target, the Image Compressor lets you choose the format and quality yourself.
Watch out: Don't push quality so low that the strokes break up into blocks. A portal might accept the file, but a person checking your application has to be able to recognise the signature.
Final checks before you upload
- Open the downloaded file and zoom in. The strokes should be continuous and dark, and the background should look plain.
- Compare the width, height and KB against the notice once more.
- Make sure the file type matches. If the form says JPG, don't upload a PNG.
- Check that you uploaded the signature in the signature box, not the photo box. Mixing the two is a common, avoidable mistake.
Keep the original scan in a safe folder. Many applications ask for the signature again later, sometimes at a different size, and starting from the original gives a better result than resizing an already-compressed file.
Most forms that want a signature also want a photo. If you need one, see How to make a passport size photo at home, and for general size limits see How to reduce a photo's file size for online forms.
If you need a crop that isn't a fixed size
Sometimes you only need to cut the signature out of a larger page, for example from a scanned form. The Image Cropper lets you drag a box over the signature, rotate the image if it's tilted, and type exact pixel positions. Crop first, then run the result through the Signature Resizer to get the final size.